|
Marvin loves finding easy projects to save us money and generally improve our RVing experience. These three little projects have helped us not only save money but also conserve water and save our RV from water damage.
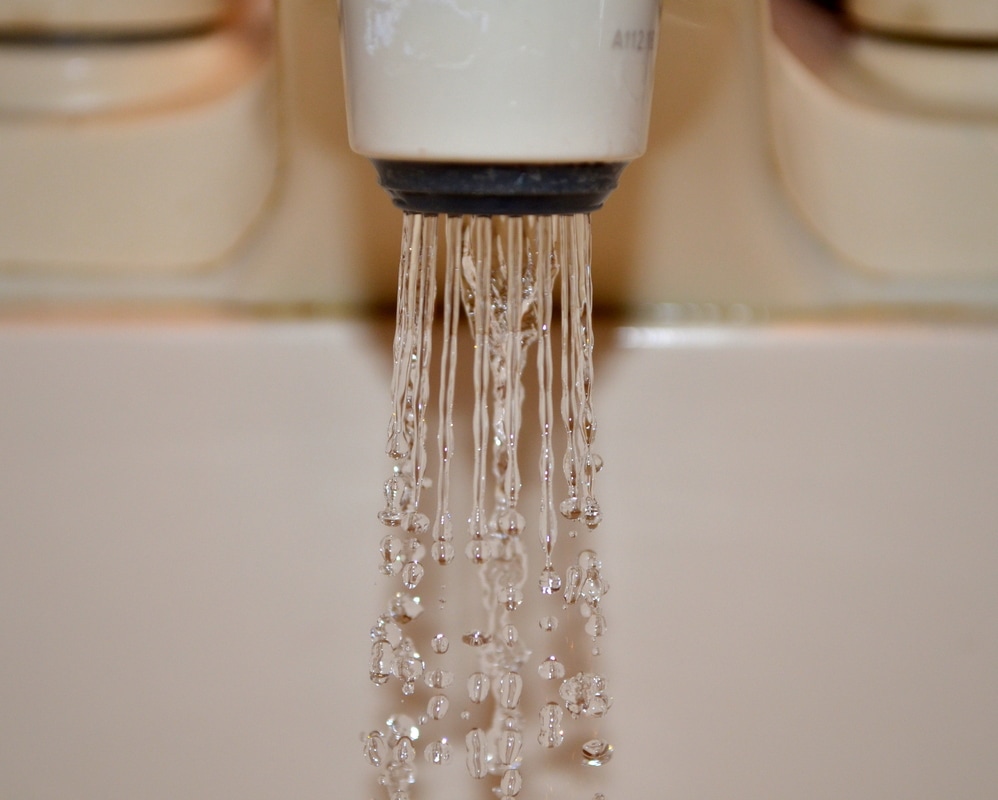
Faucet Enhancements
Water Heater Conversion
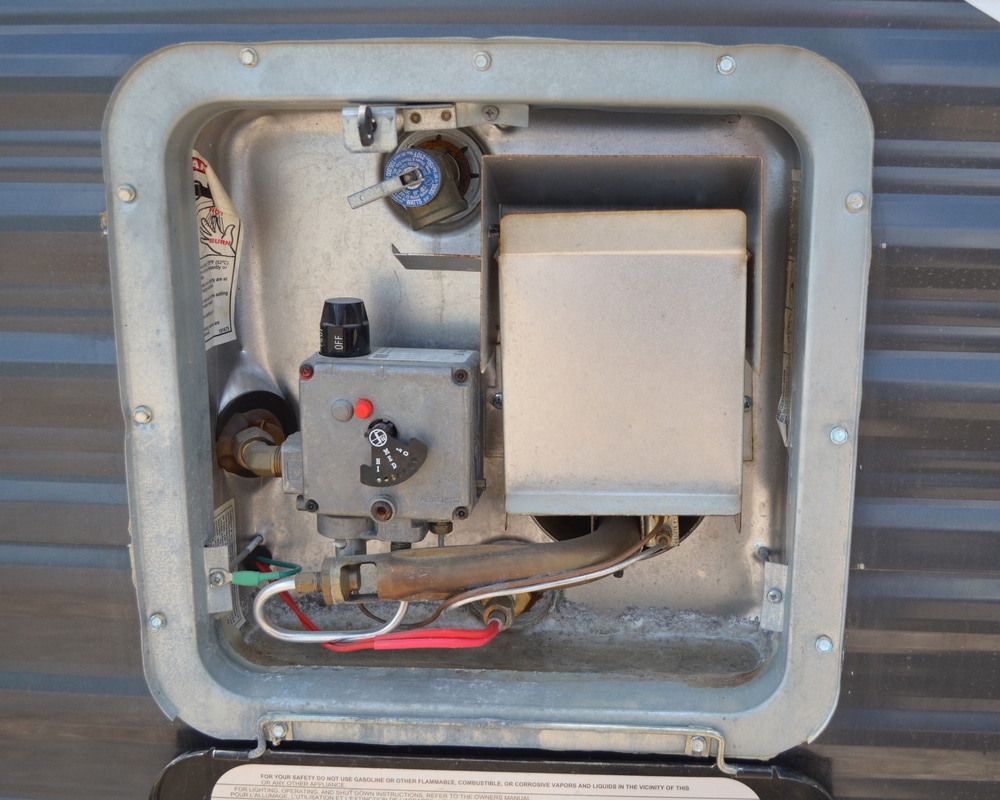
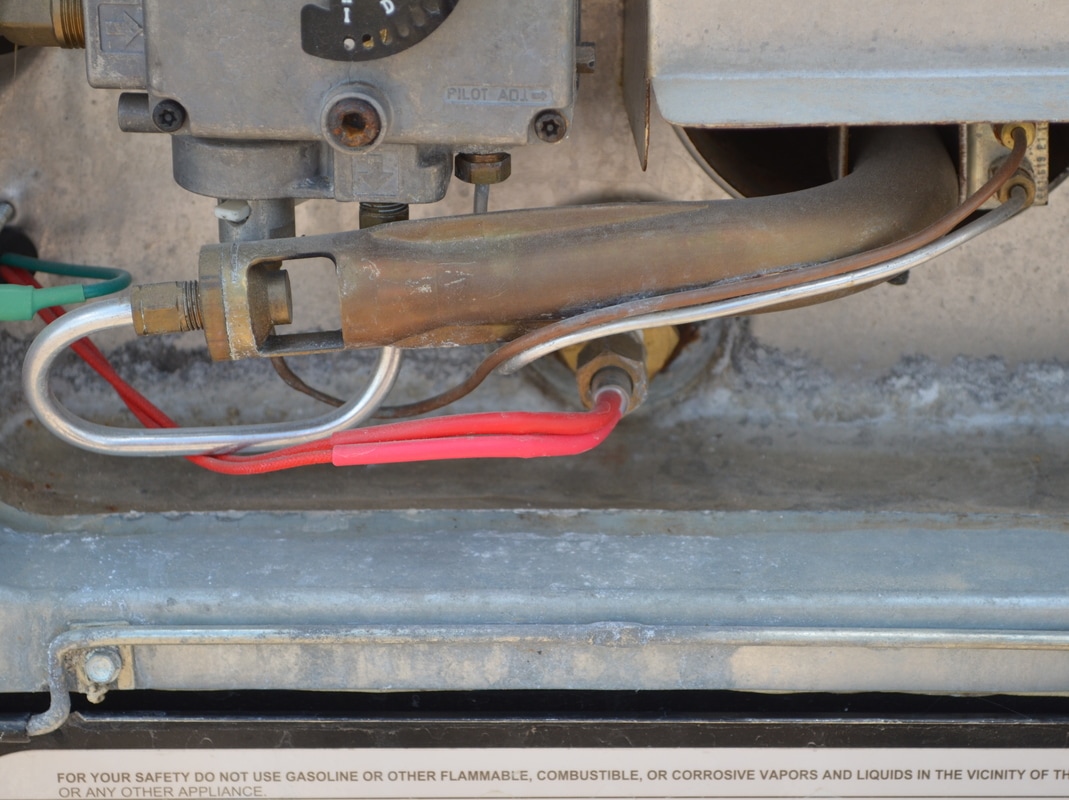
Most RV parks include electricity for daily and sometimes weekly stays, and all of our workamping gigs include electricity. So rather than paying for propane, Marvin added a water heater conversion kit to heat our water using electricity rather than propane. We will still have access to propane heat when we boondock, but for now, we're loving our electric-powered hot water heater.
You will need:
- Camco Hybrid Heat RV Hot Water Kit - wrench or socket set - pliers - utility knife - Phillips head screwdriver - drill and drill bits (1/8" and 1/2")
Step 1:
Turn off your main water supply and your hot water heater. Give your hot water heater a chance to cool down. Tip: Allow your hot water heater to cool overnight.
Step 2:
Drain your hot water heater.
Step 3:
Install the heater cartridge, using the Teflon tape provided in the kit. Tighten, turn on water, and allow air to run out of your water lines. Check for leaks. If no leaks, proceed to step 4.
Step 4:
Install the thermostat inside your rig. Make sure it's mounted directly to the metal water heater tank.
Step 5:
Drill a hole to route your heater cartridge to your thermostat.
Step 6:
Connect all your wiring for the power cord, heater cartridge, thermostat, and power switch.
Step 7:
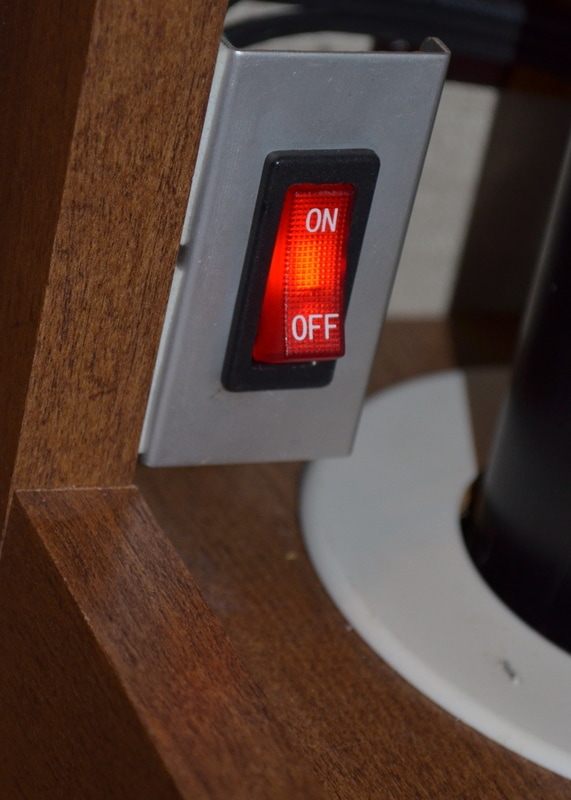
Before you mount your On/Off switch, turn it on and give it 30 to 60 minutes to warm up. Then test it to make sure there are no leaks and the water is heating properly.
Step 8:
Mount your On/Off switch on an even surface, where you can conveniently access it as needed. Tip: Use double-sided tape to mount your On/Off switch. This will allow you to easily relocate the switch if needed.
Now you can run your hot water heater on electricity, while still keeping your propane as a backup!
Shower Splash Guards
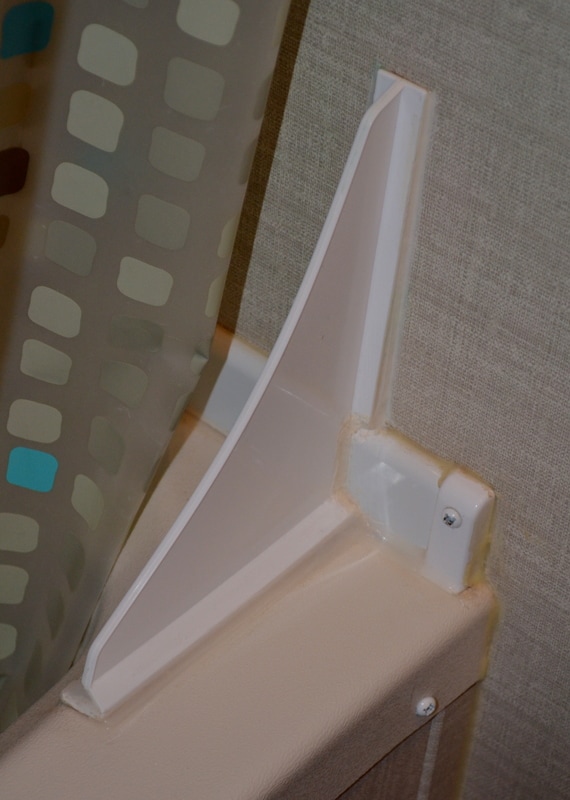
This was an absolute necessity. Every time we took a shower, water ran down the side and onto the floor, around, or seemingly through the shower curtain. No amount of plastering the shower curtain to the wall made any difference. So Marvin installed shower guards to keep the excess water confined to the shower.
What you'll need:
- shower guard kit - 30-minute water-ready caulk - caulk gun - possibly a utility knife Step 1: If you have a lip on your shower, as we do, you will need to cut out a space for it so that your guard will sit flush against the wall. If not, skip to step 2. Step 2: Line up your shower guard and hold it firmly in place. Step 3: Use your caulk gun to caulk around both the front and the back, and let it dry completely before taking a shower. Tip: You may need a second coat of caulk, to make sure it's securely attached.
There you have it! Super simple fix. No more leaks!
These upgrades have been remarkably helpful and are on our "RV must-have" list. We hope these are as helpful to you as they have been for us.
*Please note that, while the products listed do include affiliate links, and we will receive a small commission should you decide to purchase any of these products, these are the exact products we used for our DIY projects. If you like our blog, please help support us by purchasing through the links we've provided. Thanks, all!
1 Comment
Roy Stricklen
1/12/2023 08:56:30 pm
Where can I get the shower splash guards and how much ?
Reply
Leave a Reply. |
Welcome to exquisit
|




 RSS Feed
